mac環境にて,Visual Studio Code を用いて Spring を使うための準備を備忘録として残す.
VScodeのプラグイン
以下の2つを利用する.ない場合はvscodeにて適宜ダウンロード.
- Extension Pack for Java
- Spring Boot Extension Pack
プロジェクトの作成手順
コマンドパレットからプロジェクトを作成する.
cmd+Shift+P からコマンドパレットを起動し,「Spring Initializr: Create a Gradle Project….」を選択する.
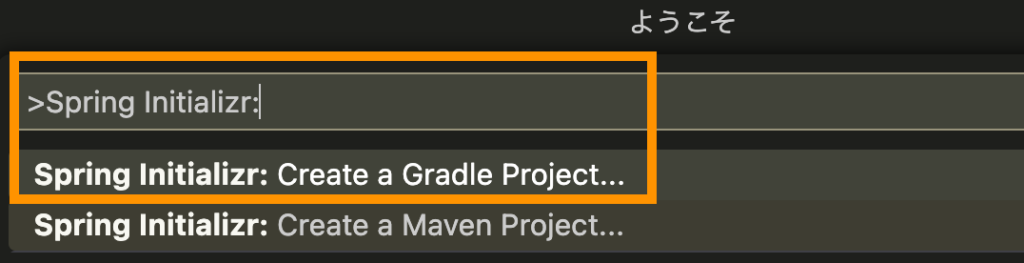
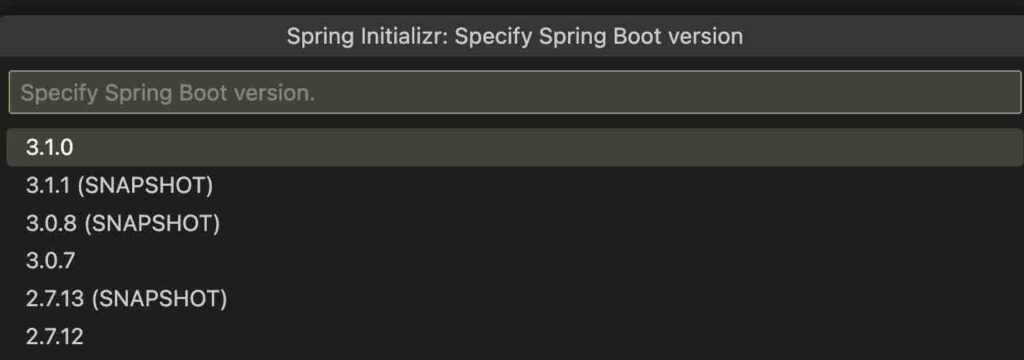
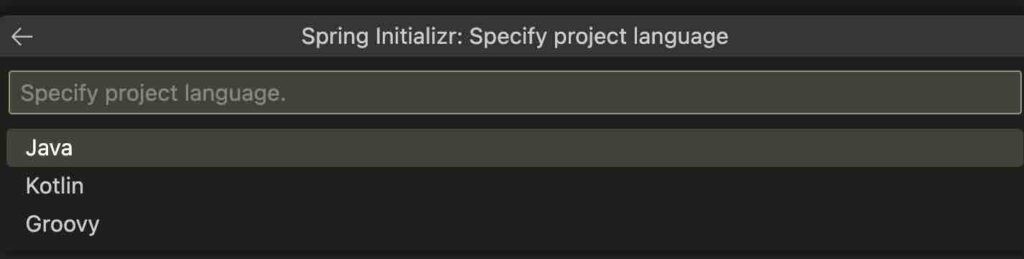
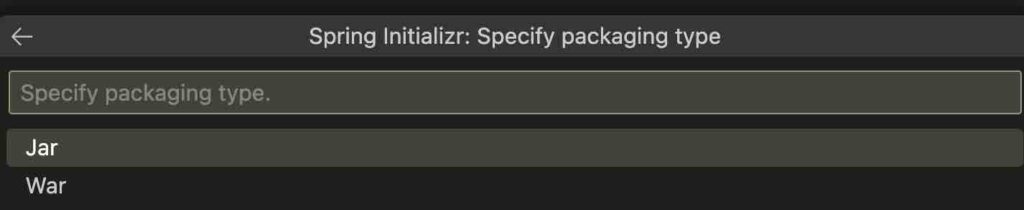
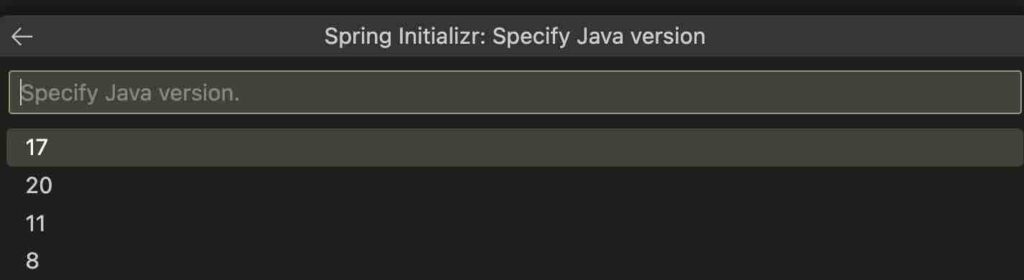
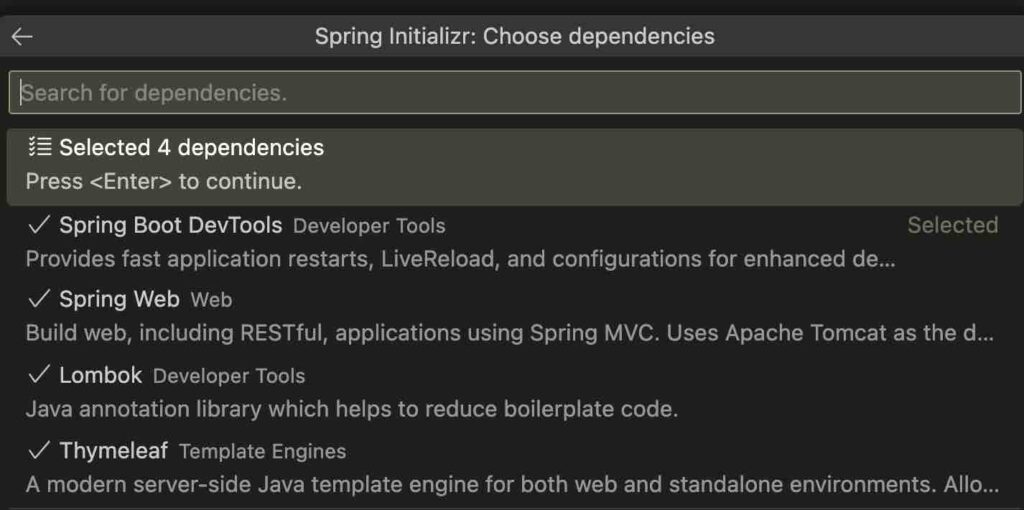
以下,画像の順番に設定をしていく.


あとは作成するディレクトリを選択して完了.
- Thymleafはテンプレートエンジン, javaファイル内の文字列をhtmlに表示する際に利用
- Lombokは Getter, Setter などをコンパイル時に自動生成してくれるソフト

Tutorial: Using Thymeleaf (ja)
www.thymeleaf.org

Project Lombok
projectlombok.org
プロジェクト作成のルール
Springのプロジェクトが作成されると,以下のディレクトリ構成で出来上がる.
以下の3つのディレクトリにて作業をしていく.
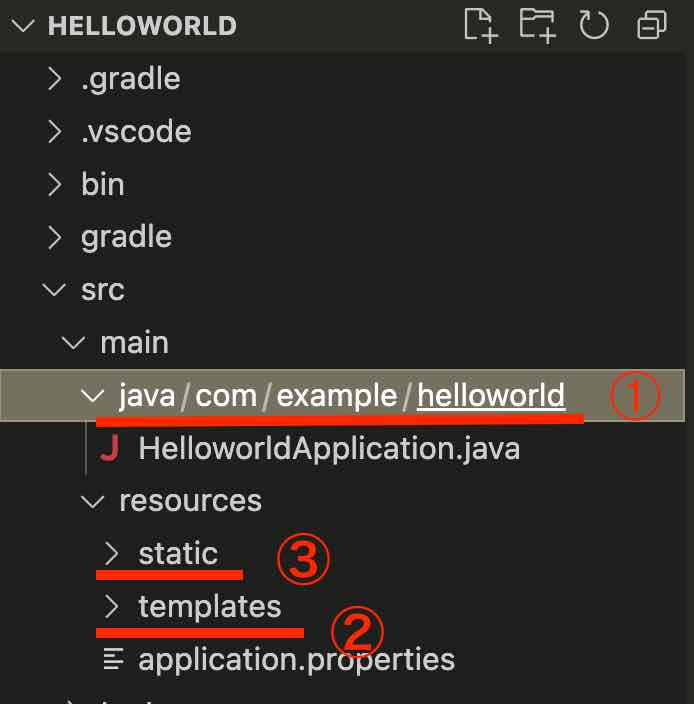
- javaのファイルは
java/com/example/helloworld内に配置 - htmlファイルは
templatesディレクトリ内に配置 - css,jsファイルは
staticディレクトリ内に配置
上記のファイル配置のルールを守らないとファイルが読み込まれないので気を付ける.
コントローラの作成
java/com/example/helloworld にHelloController.javaを作成する.
//HelloController.java
package com.example.helloworld;

import org.springframework.stereotype.Controller;
import org.springframework.web.bind.annotation.GetMapping;

@Controller
public class HelloController {

    @GetMapping("/hello")
    public String hello(){
        return "hello";
    }
}
MVCモデルにおける,Controllerの役割を果たすファイルに該当します.
- @Controllerをつけることで,このクラスがコントローラであることを明示
- @GetMappingでルーティングを指定
hello() メソッドの返り値について templates/hello.html をレンダリングして返していることに注意..html が明示されていないことに注意が必要.
ビューファイルの作成
templates ディレクトリにhello.htmlを作成する.
<html>
  <head>
    <meta charset="UTF-8" />
    <title>hello world</title>
  </head>
  <body>
    <p>Hello World</p>
  </body>
</html>
プログラムの起動
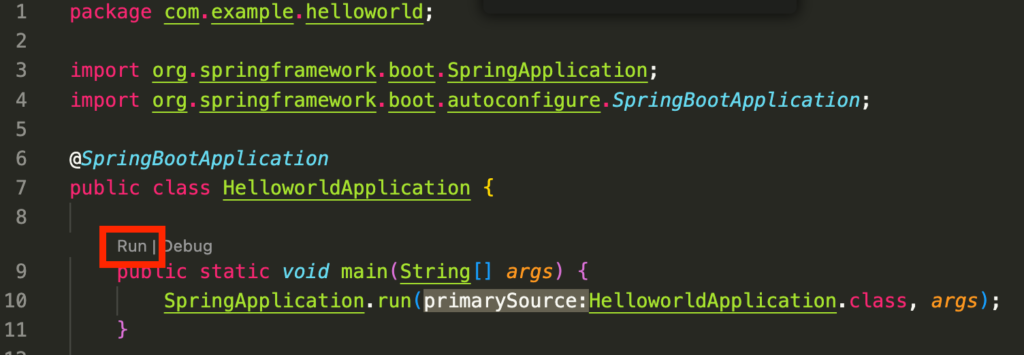
java/com/example/helloworld/HelloworldApplication.javaにて,Runコマンドをクリックするとアプリが起動する.
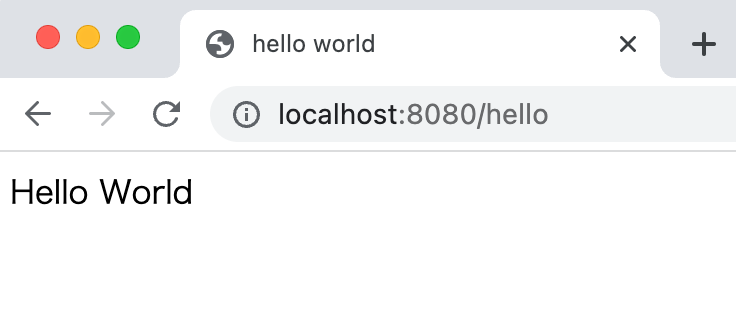
http://localhost:8080/hello をブラウザに入力すると,以下のように Hello World の表示が出てきます.
- URLに書いた /hello とGetMappingアノテーション
@GetMapping("/hello")の文字列は同じ文字列でないとエラーになる - 8080はポート番号を意味

Webサーバに接続するまでの流れとポート番号 | ITSakura
itsakura.com
まとめ
VSCodeで JavaのSpring boot を使う準備方法について備忘録をまとめた.